
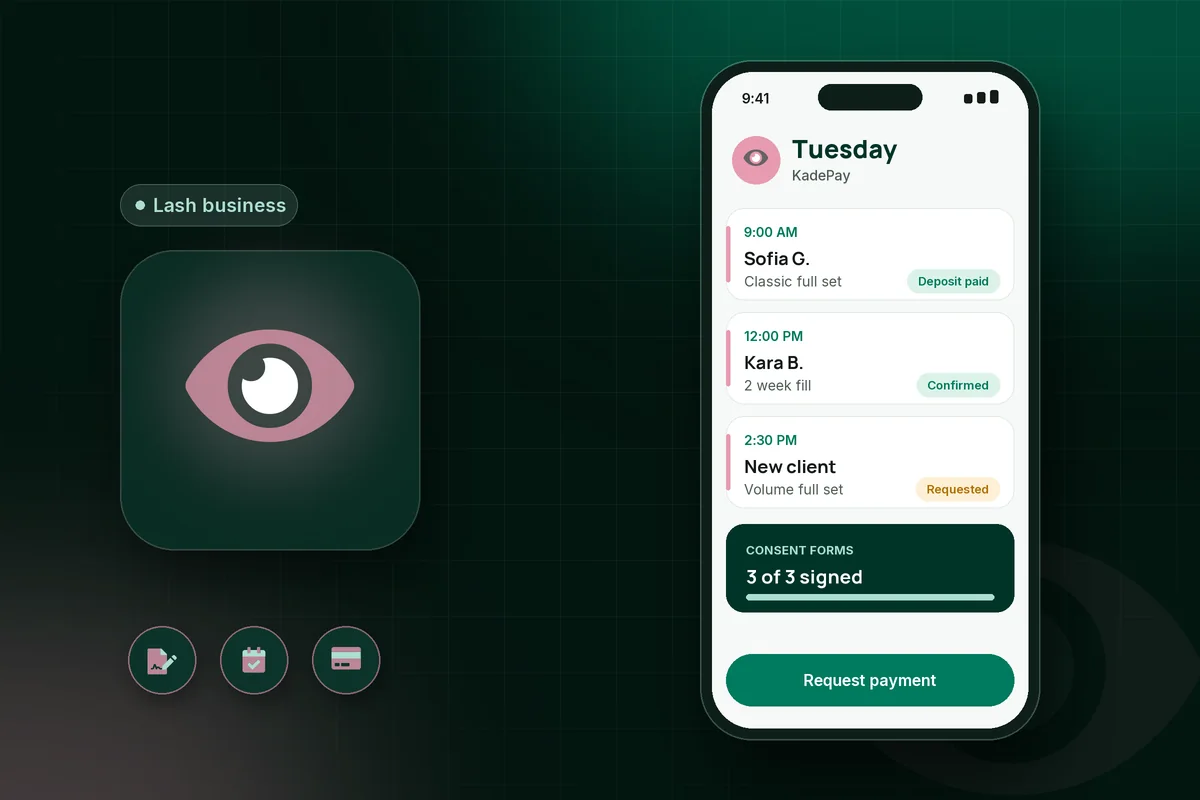
To start a lash business, get the license your state requires for lash extensions, then train, pick a workspace, insure yourself and set your prices and policies before your first paid client. Booking, deposits and a signed consent form come next, so the business runs on rules instead of late-night texts.
Starting a lash business means running two jobs at once: the lash artist who applies extensions and the owner who handles licensing, money, bookings and marketing. The ten steps below follow the order most new lash techs need them in. For the tools side, the KadePay page for lash artists shows how booking and payments fit together.
Step 1: Get the license your state requires
Lash extension licensing is set by each state, so your state board decides what you need, not a lash brand or a course provider. Most states treat lash extensions as a licensed beauty service and require a cosmetology or esthetics license. A few issue a lash-specific license.
Two examples show how far the rules differ:
- Texas. The Texas Department of Licensing and Regulation issues a separate Eyelash Extension Specialist license. You must be at least 17, complete 320 hours of instruction at a licensed school and pass written and practical exams.
- California. The California Board of Barbering and Cosmetology says California does not have an eyelash extension license. Lash extensions for pay require a Board license, such as cosmetology or esthetics.
If you live elsewhere, search for your state's cosmetology or barbering and cosmetology board and look for "eyelash extensions" in its scope of practice or FAQ pages. If the page is unclear, call the board and note the answer and date. This is general information, not legal advice.
Step 2: Separate training and certification from your license
A lash certification is a course completion certificate from a brand or educator; a license is permission from your state to work for pay. You usually need both, and one does not replace the other.
California makes the difference explicit. Its Board says it has no jurisdiction over lash-only training courses, and hours from those courses cannot be used to qualify for a Board exam. A weekend class can teach isolation and adhesive handling, but it will not make you legal to work there.
When you compare courses, ask:
- Does the course include supervised hands-on work on live models?
- Does it cover sanitation, adhesive safety, allergic reactions and removal?
- Will my state board count any of the hours? (Often the answer is no.)
Step 3: Choose where you work
Your workspace sets your rent, your rules and how clients find you. Lash techs usually pick one of four setups.
Starting a lash business from home
A home lash studio has the lowest rent but the most paperwork. Before you buy a lash bed, check three things: whether your city's zoning allows a home business with clients visiting, whether you need a local business license or home occupation permit, and whether your state board licenses home-based shops or requires a separate establishment license. Also check your lease or HOA rules and tell your home insurer, since a personal policy may not cover business visitors.
Salon suite
A salon suite is a private, lockable room inside a larger building, rented weekly or monthly. You get your own door and control of the space, at a higher cost than a booth.
Booth or room rental in a salon
Renting a station or room inside an existing salon gives you shared amenities and possible walk-in traffic.
Working in a salon or lash studio
Working as an employee or on commission means lower startup cost and no front desk work. It is a common first step while you build speed.
Step 4: Get insured
Insurance covers claims you could not pay out of pocket, such as a client reaction to adhesive. Most lash techs look at professional liability (covering claims from your work) and general liability (covering injuries in your space, such as a trip on the way in). Ask insurers whether lash extensions are named on the policy, since some beauty policies list covered services one by one.
Step 5: Budget your supplies and startup cost
Your startup cost depends mostly on licensing, which can range from a few application fees to a full school program. The table below is an illustrative budget for a lash tech who already holds a qualifying license and is setting up a home or suite studio. The figures are placeholders, not market prices. Replace them with your own quotes.
| Item (illustrative) | Example cost | Your quote |
|---|---|---|
| State license application and exam fees | $300 | |
| Lash course (brand certification) | $1,200 | |
| Lash bed, stool and lamp | $700 | |
| Starter kit: lashes, adhesive, tweezers, primer, pads, tape | $400 | |
| Sanitation supplies and disposables | $150 | |
| Liability insurance, first year | $400 | |
| Local business license or permits | $100 | |
| Business cards and printed price list | $50 | |
| Total | $3,300 |
Check: 300 + 1,200 + 700 + 400 + 150 + 400 + 100 + 50 = $3,300. Rent for a suite or booth is not included, because it repeats every month.
Step 6: Price your menu
A lash menu needs three core prices: a full set, fills and removal. Set each one from the time it takes you, then check it against what nearby lash artists charge.
Here is an illustrative worked example, not a market rate:
- Full set: $160 for 2.5 hours, so $160 / 2.5 = $64 an hour.
- Two-week fill: $65 for 1 hour, so $65 an hour.
- Removal: $30 for 30 minutes, so $60 an hour.
Hourly rate = price / hours. Keeping services near the same hourly rate stops one from subsidizing another. If a 3-week fill takes 1.5 hours, it should cost more than a 2-week fill.
Then estimate a month. With 10 full sets and 40 two-week fills: (10 x $160) + (40 x $65) = $1,600 + $2,600 = $4,200 in services, over (10 x 2.5) + (40 x 1) = 65 hours in the chair. Supplies, rent, payment fees and taxes still come out of that figure.
Publish the menu where clients see it before they book. The free salon price list maker turns your services into a clean list you can post or print.
Step 7: Write your policies
Lash policies protect long appointments. Three matter most:
- Deposits for full sets. A full set blocks two hours or more. Ask for a deposit before you treat the time as held, and say in writing whether it is applied to the service and when it is forfeited. The non-refundable deposit guide covers wording and when a deposit should be refunded.
- Fill window. Define how many days count as a fill, and how much lash must remain. Past that, the client books a new full set.
- Cancellation and late arrival. State the notice period, the fee and how late a client can arrive before the service is shortened or rebooked.
Have clients agree to the policies before the appointment, not at the chair. The no-show reduction tool has more ideas for keeping your calendar full.
Step 8: Use a consent form and talk about patch tests
A lash consent form records what the client told you about eye conditions, allergies and past reactions, and confirms they understood the risks and aftercare. Send it before the first appointment so you can read it before the client arrives.
Many lash artists offer a patch test, a small amount of adhesive applied ahead of time, for clients with sensitivities or past reactions. Decide your policy, write it into the form and follow what your training and board guidance say. Have your final wording reviewed, ideally by a legal professional.
Step 9: Set up booking and getting paid
Your booking setup should let clients ask for a time without you answering messages mid-set. Here is how that works in KadePay:
- Booking requests. You share a booking link, clients request a time, and you review and confirm each one. Nothing is booked instantly without your approval.
- Deposits. The deposit is part of the bill: the client can pay for the slot when they book, or you send a deposit-only bill. Check that it is paid before you confirm a full set. If the service runs longer or costs more, bill the difference after. On Team and Pro, deposit links can expire; an expired link does not cancel the appointment, so review unpaid requests yourself.
- Card on file. With the client's authorization and an agreed policy, you can charge a saved card for a completed service or a fee your policy describes. KadePay does not detect no-shows or charge fees on its own.
- Reminders. Configured reminders let clients confirm or decline, depending on your settings and the contact details you have.
- Payments. Clients pay by card, Apple Pay or Cash App through Stripe. Venmo and Zelle payments are tracked too: if you accept them, the bill shows clients how to pay you that way. Those apps' own terms and fees apply.
KadePay's $0 monthly plan includes 60 booked appointments each month, then $0.15 per appointment. Usage and payment fees apply.
Step 10: Get your first clients
Your first clients usually come from people who know you, then from their friends. Three channels do most of the work:
- Instagram. Post healed results, not just fresh sets, and put your booking link in your profile.
- Before and after photos. Get written photo consent first, and say where the photos will appear. A consent line on your intake form covers this.
- Referrals. Offer a small thank-you, such as a discount on the next fill, when a client sends a friend who books.
Discounted model sets build speed and a portfolio. Give them a clear end date.
A one-page lash tech business plan
A lash tech business plan does not need to be long. One page that answers these questions is enough to start:
- Which license do I hold or need, and by when?
- Where will I work, and what does it cost each month?
- What is my menu, and what hourly rate does each service earn?
- How many fills and full sets a week do I need to cover costs?
- What are my deposit, fill window and cancellation policies?
- Where will my first 20 clients come from?
How much do lash techs make?
There is no reliable national figure for lash techs specifically. The U.S. Bureau of Labor Statistics does not publish a lash-specific occupation; its Skincare Specialists profile says those workers may provide eyelash services, and it reported a median hourly wage of $21.79 for skincare specialists in May 2025. That figure covers estheticians broadly and mostly employees, so treat it as context, not a lash benchmark.
For a self-employed lash tech, income is service revenue minus supplies, rent, insurance, payment fees and taxes. Run the Step 6 math with your own prices.
What KadePay sees new lash techs get wrong
These are patterns the KadePay team hears from lash artists. They are observations, not survey results.
- Pricing fills by feel. A fill priced as "about half a full set" often earns far less per hour once it runs long.
- No fill window in writing. Without one, a five-week "fill" becomes a full set at fill prices.
- Booking full sets without a deposit. One empty two-hour slot can cost more than a week of supplies.
- Skipping the reaction conversation. Asking about sensitivities on the form is easier than handling a reaction afterward.
- Posting photos without consent. It costs trust with the client in the photo and everyone who sees it.
When this is not the right fit
Going independent is a poor fit if you do not yet hold the license your state requires, or if you are still slow enough that a full set takes most of a day. In that case, working in an established lash studio builds speed and a client base with less risk. A home studio is also a poor fit if local zoning or your lease does not allow clients to visit.
When you are ready to take bookings, you can start free with KadePay.
Related reading
Sources
- Texas Department of Licensing and Regulation, Apply for an Eyelash Extension Specialist License, accessed November 4, 2026.
- California Board of Barbering and Cosmetology, FAQs, accessed November 4, 2026.
- U.S. Bureau of Labor Statistics, Skincare Specialists: Occupational Outlook Handbook, accessed November 4, 2026.